Quick start
Create backend project
For a quick start, we’ll assume you are beginning a new backend project. For simplicity (and also because Wabe was built with it), we will create the project using Bun. However, it's important to note that Wabe is also compatible with Node.
Install bun
You can found more information here.
brew install oven-sh/bun/bun # for macOS and Linux
or
npm install -g bun # for Windows
Create project
Create the project with the bun init command.
bun initNow you should have a basic project with an index.ts file.
Create your first Wabe app
Open the index.ts file and past the following code.
import { DatabaseEnum, Wabe } from "wabe";

const run = async () => {
  // Ensure your database is running before run the file

  const wabe = new Wabe({
    // Root key example (must be long minimal 64 characters, you can generate it online)
    rootKey:
      "0uwFvUxM$ceFuF1aEtTtZMa7DUN2NZudqgY5ve5W*QCyb58cwMj9JeoaV@d#%29v&aJzswuudVU1%nAT+rxS0Bh&OkgBYc0PH18*",
    database: {
      type: DatabaseEnum.Mongo,
      url: "mongodb://127.0.0.1:27045",
      name: "WabeApp",
    },
    port: 3000,
    schema: {
      classes: [],
      scalars: [],
      enums: [],
      resolvers: {
        mutations: {},
        queries: {},
      },
    },
  });

  await wabe.start();
};

await run();
Let’s take a look at what’s happening in this small example. We’re creating a wabe object with minimal configuration.
The first element is the
rootKey, a string that should be as long and varied as possible, which can be included in all requests made to the API by passing it in theWabe-Root-Keyheader. It grants root access to all requests. It must remain completely secret and should only be used by the backend itself; under no circumstances should it be shared with the frontend. The root key override all security checks.Next, we have the
databaseinformation (the type of database; currently, Wabe only supports MongoDB, but support for Postgres is planned).We also see the
porton which we’re launching the server.Finally, the
schemaobject allows you to specify various elements (your backend classes, enums, scalars, and resolvers). We’ll explore all these elements in more detail in the next section dedicated to the schema.
You can now run the index.ts file with the following command bun run index.ts.
Explore the GraphQL dashboard
Now that you’ve launched your first server with Wabe, you can go to the following address:
http://localhost:3000/graphql
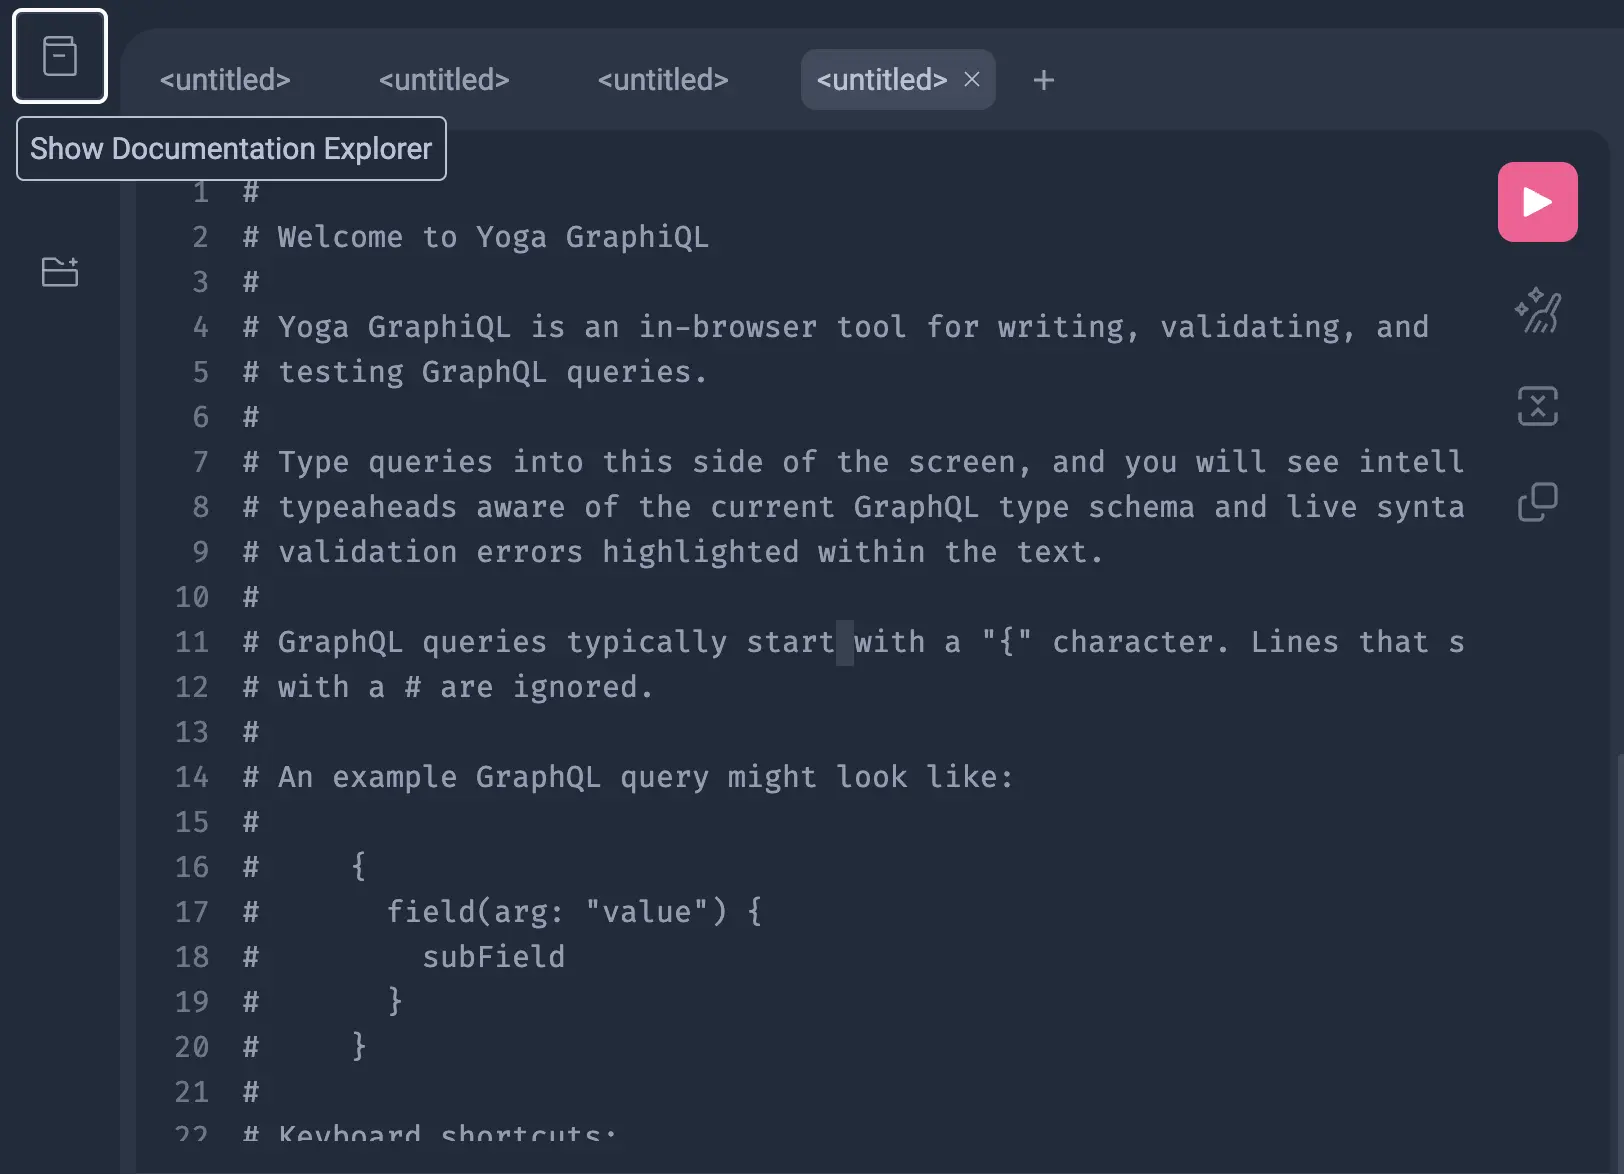
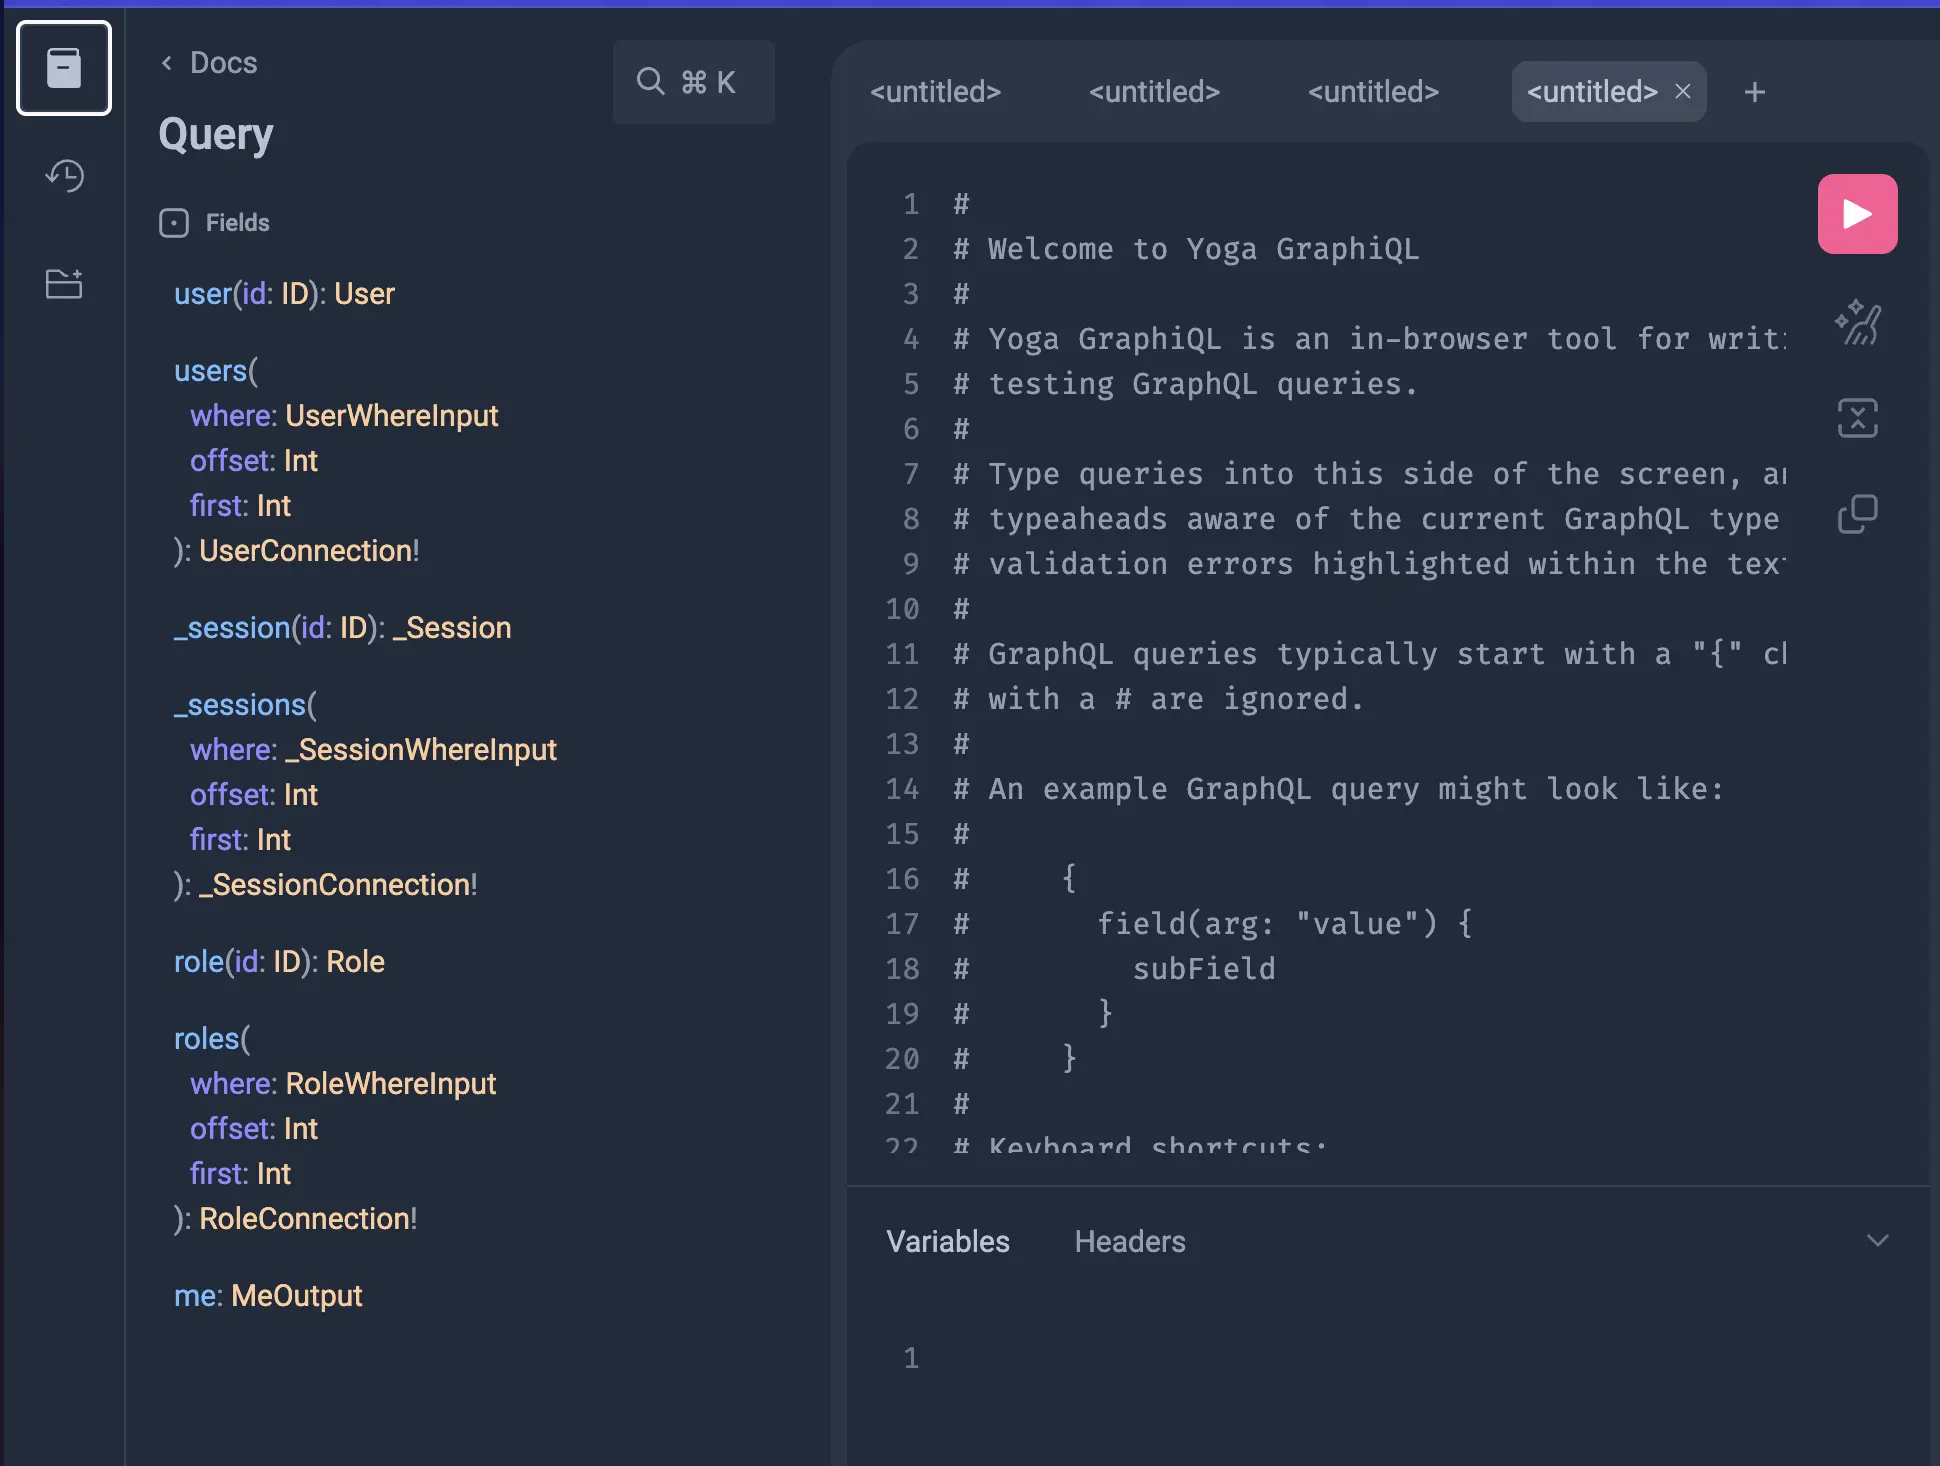
You’ll arrive at a GraphiQL interface with an online playground that allows you to test queries (figure 1). Click on "Show documentation explorer" in the top left corner to access the second interface (figure 2).
In this interface, you’ll see that some queries are already created. By default, Wabe provides three classes: one class for users (with various elements, including authentication), a Session class to manage user sessions, and the last one corresponds to Roles. Any roles you create (see the Schema section) will be automatically added to the Role class and included in the RoleEnum enum.
For each class you define, two queries and six mutations will be automatically generated to allow you to interact with your data. This will be explained in more detail in the Schema section.